

Installing a thin rod on a bicycle wheel, also known as a wheel spacer or wheel insert, is a simple yet effective way to improve the performance and safety of your bicycle. This guide will walk you through the step-by-step process of installing a thin rod on your bicycle wheel, covering the necessary tools, materials, and safety precautions.
Table of Contents
Tools and Materials Needed:
- Thin rod (wheel spacer or wheel insert)
- Wheel nut wrench (or adjustable wrench)
- Tire levers
- Spare tube and tire
- Wheel chocks (optional)
- Safety glasses and gloves (recommended)
Installing a Thin Rod on a Bicycle Wheel
Step 1: Preparation (Before Starting)
Before starting the installation process, ensure your bicycle is in a safe location, away from traffic and any hazards. Engage the rear wheel quick release or remove the nuts to prevent the wheel from moving during installation. If your bicycle has wheel chocks, install them to prevent the wheel from rotating.
Step 2: Remove the Tire and Tube
Use tire levers to pry the tire off the rim, working your way around the wheel until the tire is completely removed. Carefully remove the spare tube from the rim, taking note of its position and orientation. Set the tire and tube aside in a safe location.
Step 3: Remove the Wheel Nuts
Use a wheel nut wrench or adjustable wrench to loosen and remove the wheel nuts. Place the nuts in a safe location to prevent loss. If your bicycle has a quick release mechanism, simply pull the lever to release the wheel.
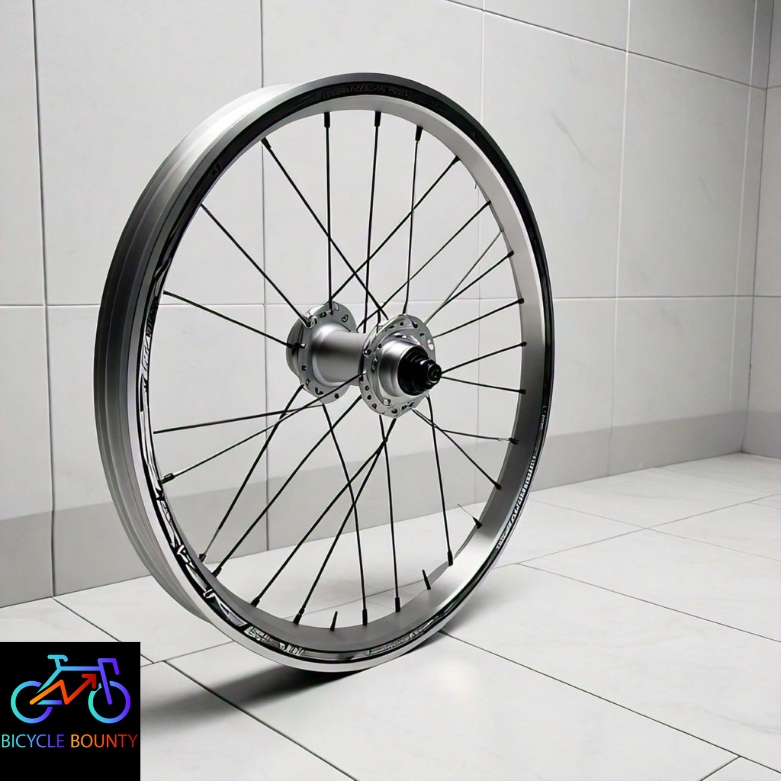
Step 4: Install the Thin Rod
Insert the thin rod into the wheel hub, ensuring it is properly seated and centered. Make sure the rod is not protruding from the hub, as this can interfere with the tire and tube. Gently push the rod into place until it is securely seated.
Step 5: Reinstall the Wheel Nuts
Place the wheel nuts back onto the wheel hub, ensuring they are securely tightened in a star pattern (tightening one nut a little, then moving to the next one, and so on). Make sure the nuts are tightened snugly, but avoid overtightening, which can damage the wheel or strip the threads.
Step 6: Reinstall the Tube and Tire
Place the spare tube back onto the rim, ensuring it is properly seated and oriented. Reinstall the tire, working your way around the wheel until it is securely seated on the rim. Use tire levers to ensure the tire is properly seated and centered.
Step 7: Final Check and Test
Double-check that the thin rod is properly installed and the wheel nuts are securely tightened. Test the wheel by spinning it and applying gentle pressure to ensure it is properly seated and functioning smoothly.

Safety Precautions:
- Always wear safety glasses and gloves when working with tools and machinery.
- Ensure the bicycle is in a safe location, away from traffic and hazards.
- Avoid overtightening the wheel nuts, as this can damage the wheel or strip the threads.
- If you are not comfortable with this installation, consider consulting a professional bicycle mechanic.
Benefits of Installing a Thin Rod:
- Improved wheel stability and balance
- Enhanced safety by reducing the risk of wheel collapse
- Increased tire clearance, allowing for wider tires or fenders
- Simplified wheel removal and installation
Common Issues and Troubleshooting:
- If the thin rod is not seating properly, check that it is the correct size and type for your wheel.
- If the wheel nuts are difficult to tighten, ensure the wheel is properly seated and the nuts are clean and free of debris.
- If the tire is not seating properly, check that the tube is properly inflated and the tire is correctly aligned.
Additional Tips and Considerations:
- Always refer to your bicycle’s owner’s manual for specific instructions and recommendations for your particular bike.
- Consider consulting a professional bicycle mechanic if you are unsure or uncomfortable with any part of the process.
- Keep your bicycle regularly maintained and inspected to ensure optimal performance and safety.
- Always wear proper safety gear, including a helmet and reflective clothing, when riding your bicycle.
Tips for Maintenance and Upkeep:
- Regularly check and maintain the tire pressure to ensure optimal performance and safety.
- Keep the wheel and hub clean and free of debris to ensure smooth rotation and prevent damage.
- Consider upgrading to a higher-quality wheel or hub for improved performance and durability.
- Always store your bicycle in a safe and secure location to prevent damage or theft.
By following this comprehensive guide, you can ensure a safe and successful installation of a thin rod on your bicycle wheel. Remember to always prioritize safety and seek professional help
if you are unsure or uncomfortable with any part of the process. With the right tools and a little patience, you can enjoy a smoother and more secure ride.

Conclusion:
Installing a thin rod on your bicycle wheel is a simple and effective way to improve performance and safety. By following this guide, you can ensure a safe and successful installation. Remember to always prioritize safety and seek professional help if you are unsure or uncomfortable with any part of the process. With the right tools and a little patience, you can enjoy a smoother and more secure ride.
Final Check:
- Double-check that the thin rod is properly installed and the wheel nuts are securely tightened.
- Test the wheel by spinning it and applying gentle pressure to ensure it is properly seated and functioning smoothly.
- Take your bicycle for a test ride to ensure everything is working properly and safely.
By following this comprehensive guide, you can ensure a safe and successful installation of a thin rod on your bicycle wheel. Remember to always prioritize safety and seek professional help if you are unsure or uncomfortable with any part of the process. Happy cycling!


